Grabbing my share at the Bountiful Baskets pick-up site this morning.
I have blogged quite frequently of my passion for farmer’s markets and fresh, local produce. During the summer before last, I was a shareholder in a CSA Farm (Community-Supported Agriculture, or sometimes Community-Shared Agriculture).
For those of you who don’t know how this works, a local organic farm decided to sell shares to the community. At the beginning of the growing season (let’s say summer), you buy a share of the harvest. “Buying in” is not only a payment of monies but an agreement to volunteer a few hours one Saturday during the harvest time to go work on the farm. Then, throughout the harvest season you pick up your share every week. In this share box is a sizeable surprise of fruits and vegetable hand-picked earlier that day or yesterday.
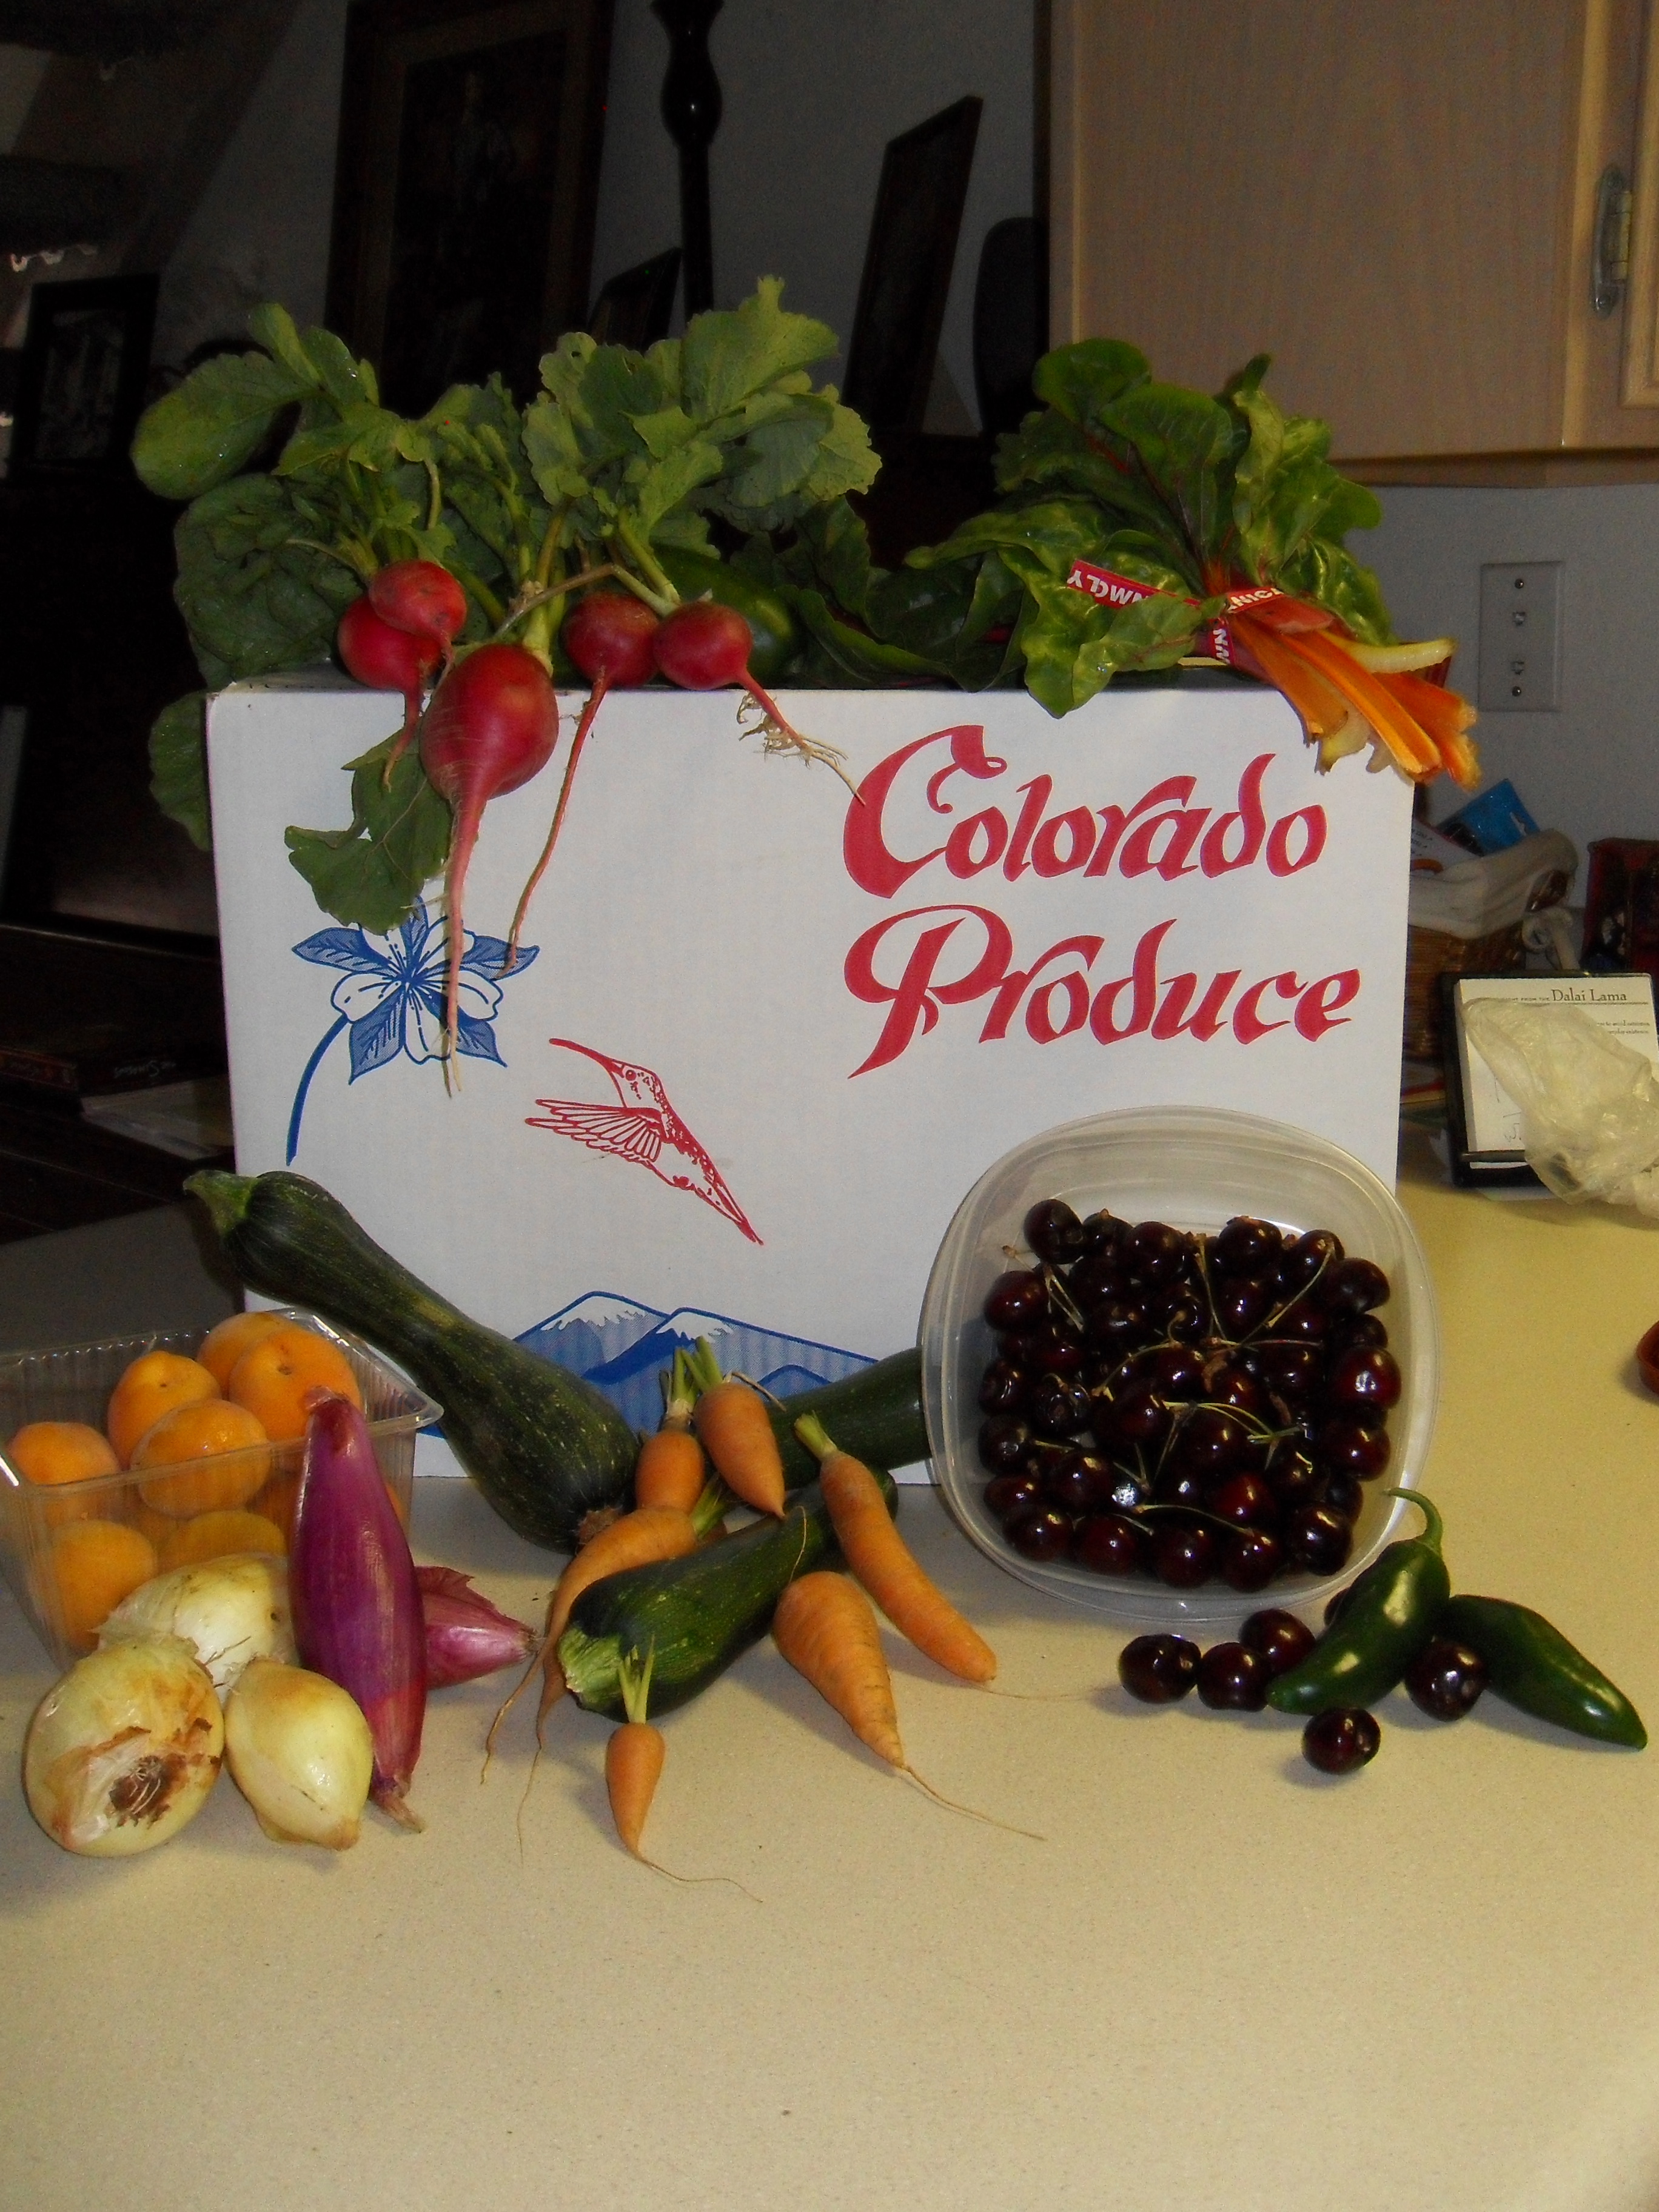
One of my first share pick-ups from my old CSA in the summer of 2010.
I loved the entire venture. Not only did I get an amazingly large portion of the harvest every week, but I was able to go put my hands in the dirt. Every week I would receive fresh peppers, tomatoes, and greens, but I would also receive something I’d never seen before – or something I’d never bothered to try. I would have to look up these strange items and figure out ways to eat them.
But I live in the high desert, and in the snowy months there is not much in the way of local produce nearby. So every fall, I slowly return to the grocery store to buy less exciting produce shipped in from destinations unknown.
A few months back, my friends Danielle and Justin had me over for dinner. Over the course of the wonderful meal, they mentioned that all the vegetables had been received from an organization called Bountiful Baskets and was quite inexpensive.
Bountiful Baskets is “a grassroots, all volunteer, no contracts, no catch co-operative”. I started contributing as a member the next week, and I was astonished by all I received for $15! I received so much produce that I didn’t contribute again until two weeks later. Nowadays, I contribute every two weeks, and there is more than enough fruits and vegetables to last me.
And we’ve made a community of it! Danielle, Justin, and I woke up early this morning to drive out together to the pick-up spot. I have other friends who are jumping on-board, and this is why:

Today’s conventional basket from BOUNTIFUL BASKETS included all this produce for $15.00!
Today’s “Conventional Basket” from Bountiful Baskets cost only $15.00 and included all this: 4 grapefruits, 5 bananas, 6 oranges, 6 apples, 1 lb. strawberries, 7 carrots (rainbowed!), 1 bunch of celery, 1 pint of grape tomatoes, 2 avocados, 2 lbs. of Brussels sprouts, and a 1/2 lb. baby peppers.
Now, I don’t remember the exact prices of these items at the grocery store, but here is what I do know (based on Grand Junction prices): A pound of strawberries are $2.50-$3.00; a pint of grape tomatoes would cost me $3.00-$4.00; 2 avocados would cost me $3.00-$5.00; 6 oranges would cost around $3.00 – and that already has us at $15.00 if I had bought all of this at my neighborhood City Market.
Bountiful Baskets also offers regular and seasonal add-on packages. These add-ons could be anything from 20 lbs. of apples to assorted nuts. This week, I added on the “Lunch Box Pack” which the weekly e-mail said was “hoping for apples, citrus, pear, and asian pear”. Here was the outcome:
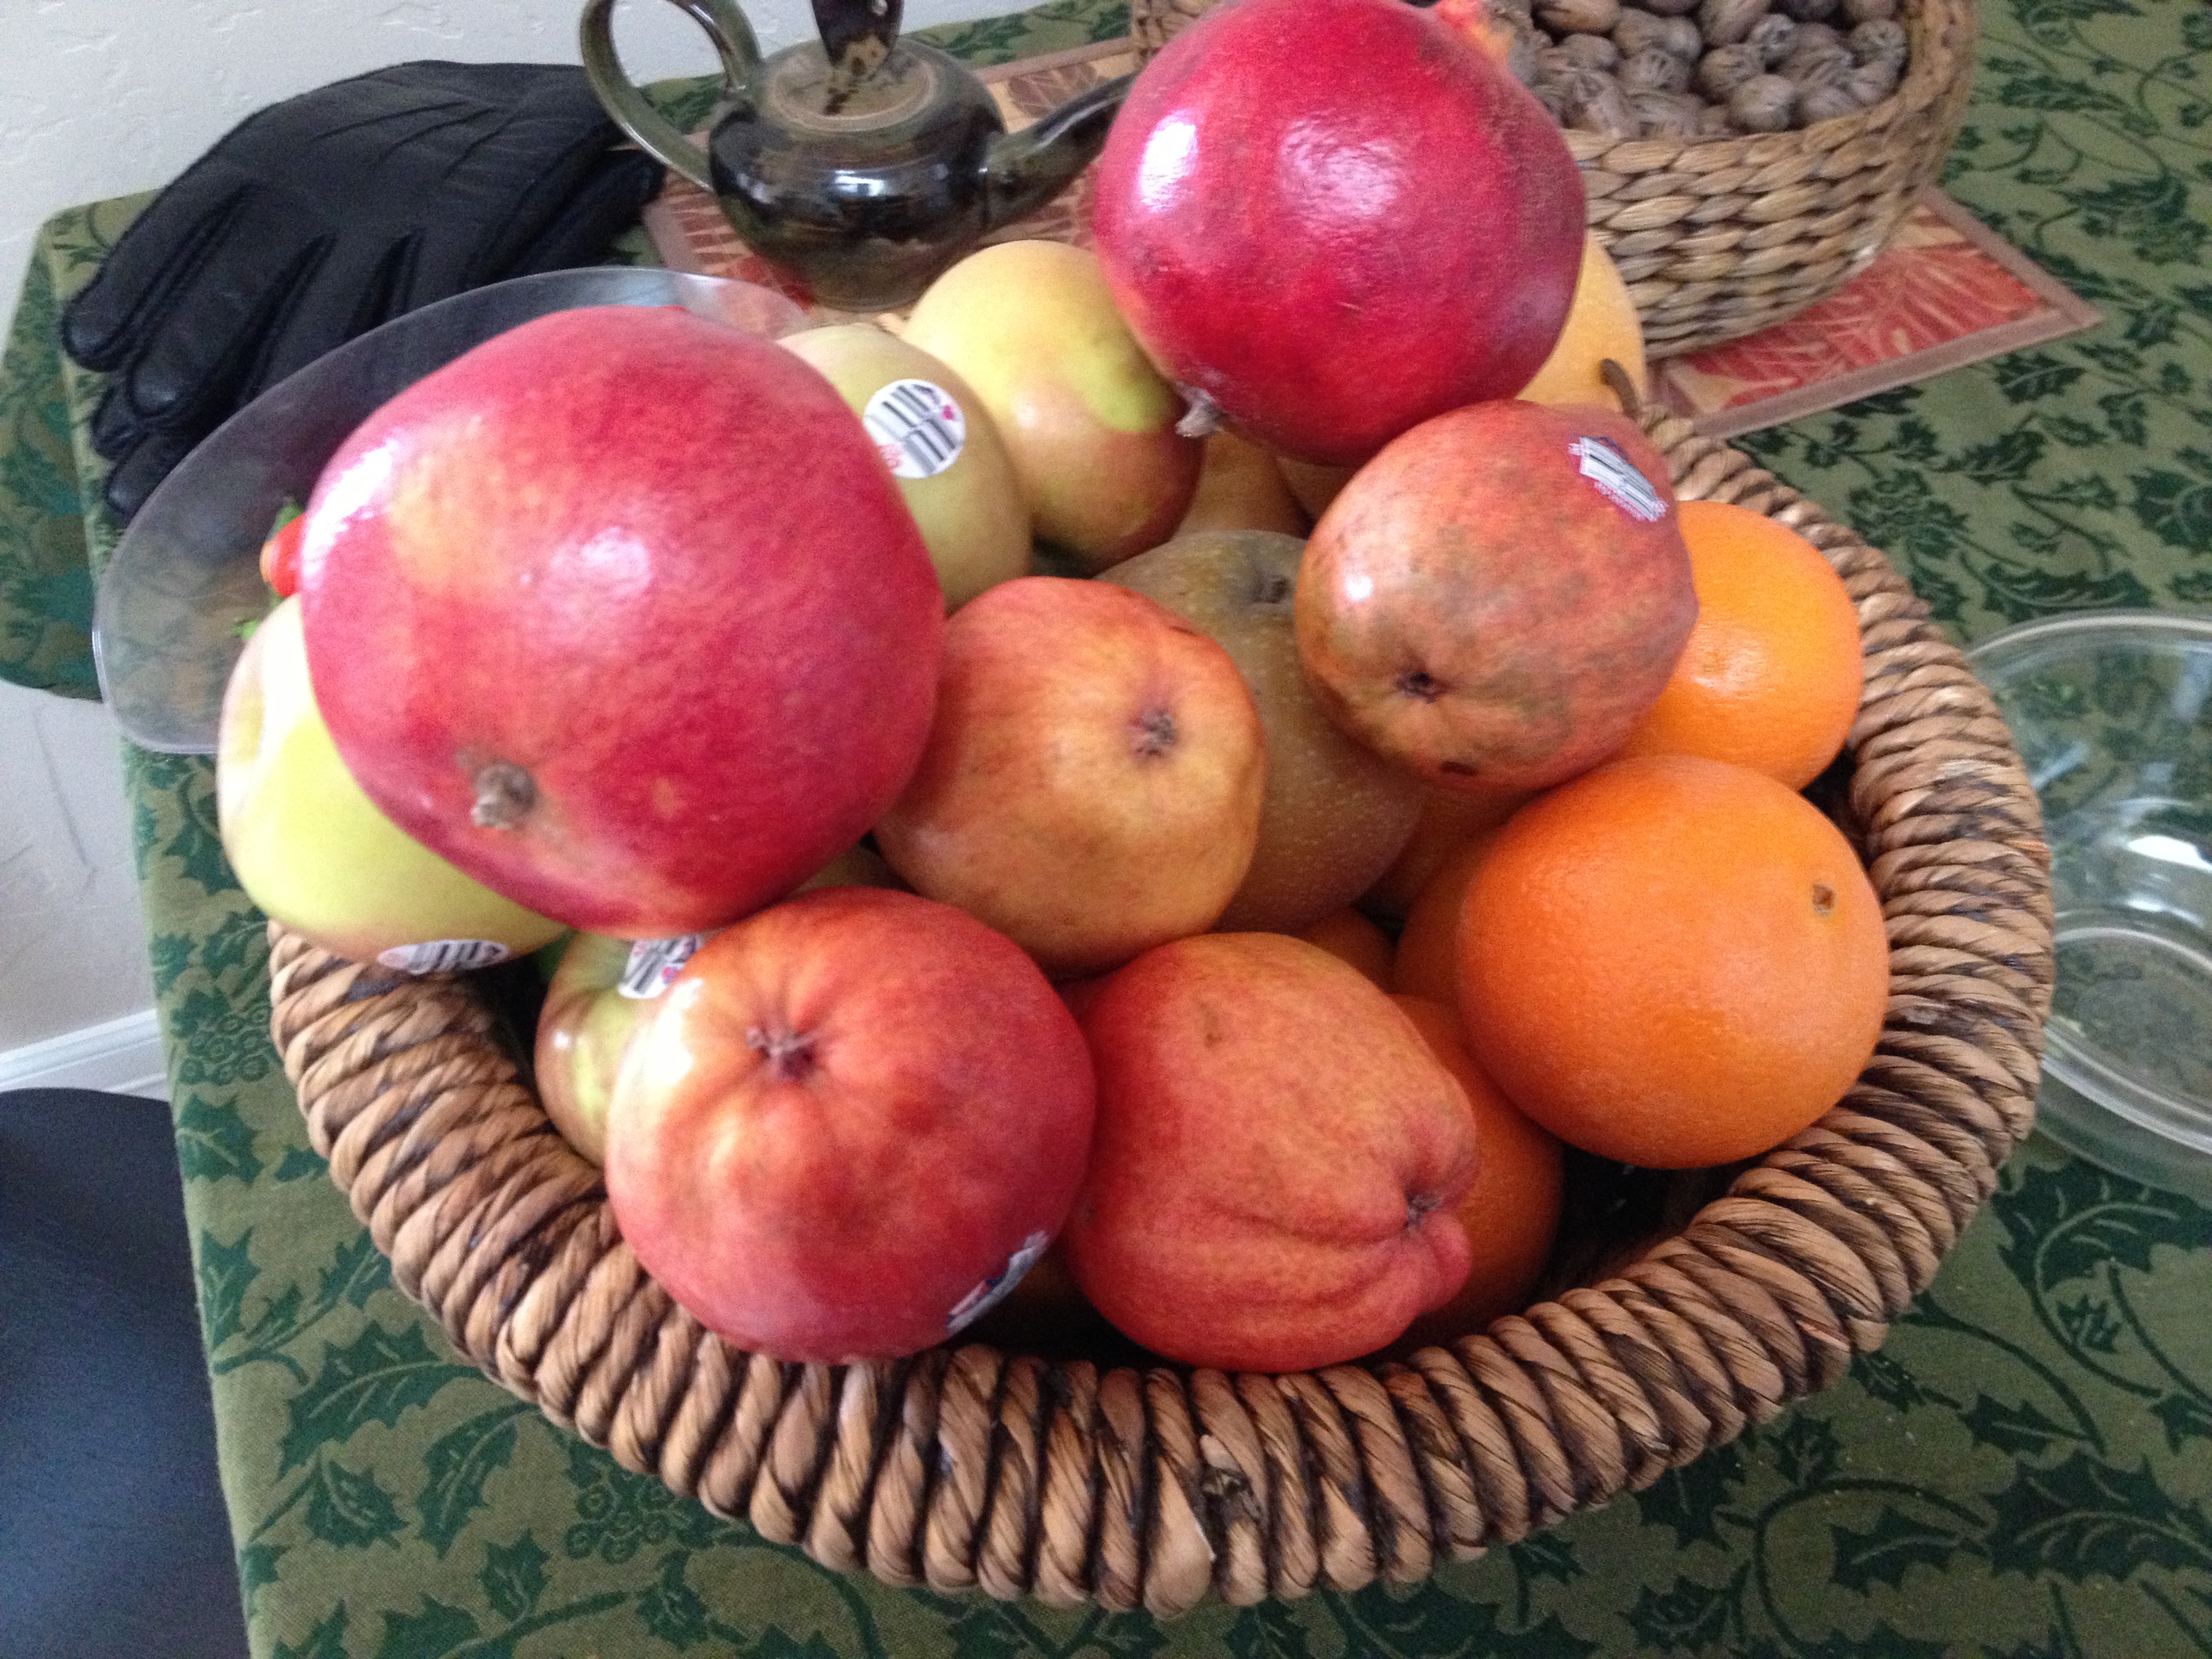
The “Lunch Box Pack” for this week’s add-on only cost $10.50!
The “Lunch Box Pack” only cost $10.50 and included: 2 pomegranates, 4 red pears, 3 asian pears, 5 fuji apples, 2 granny smith apples, and 7 oranges! Can you imagine this cost at the store? 2 pomegranates would cost you $5.00 on its own!
Bountiful Baskets regularly has add-ons for bread. Occasionally they have sourdough and baguettes, but they always have their “Organic Original Sweet 9-Grain Bread”:
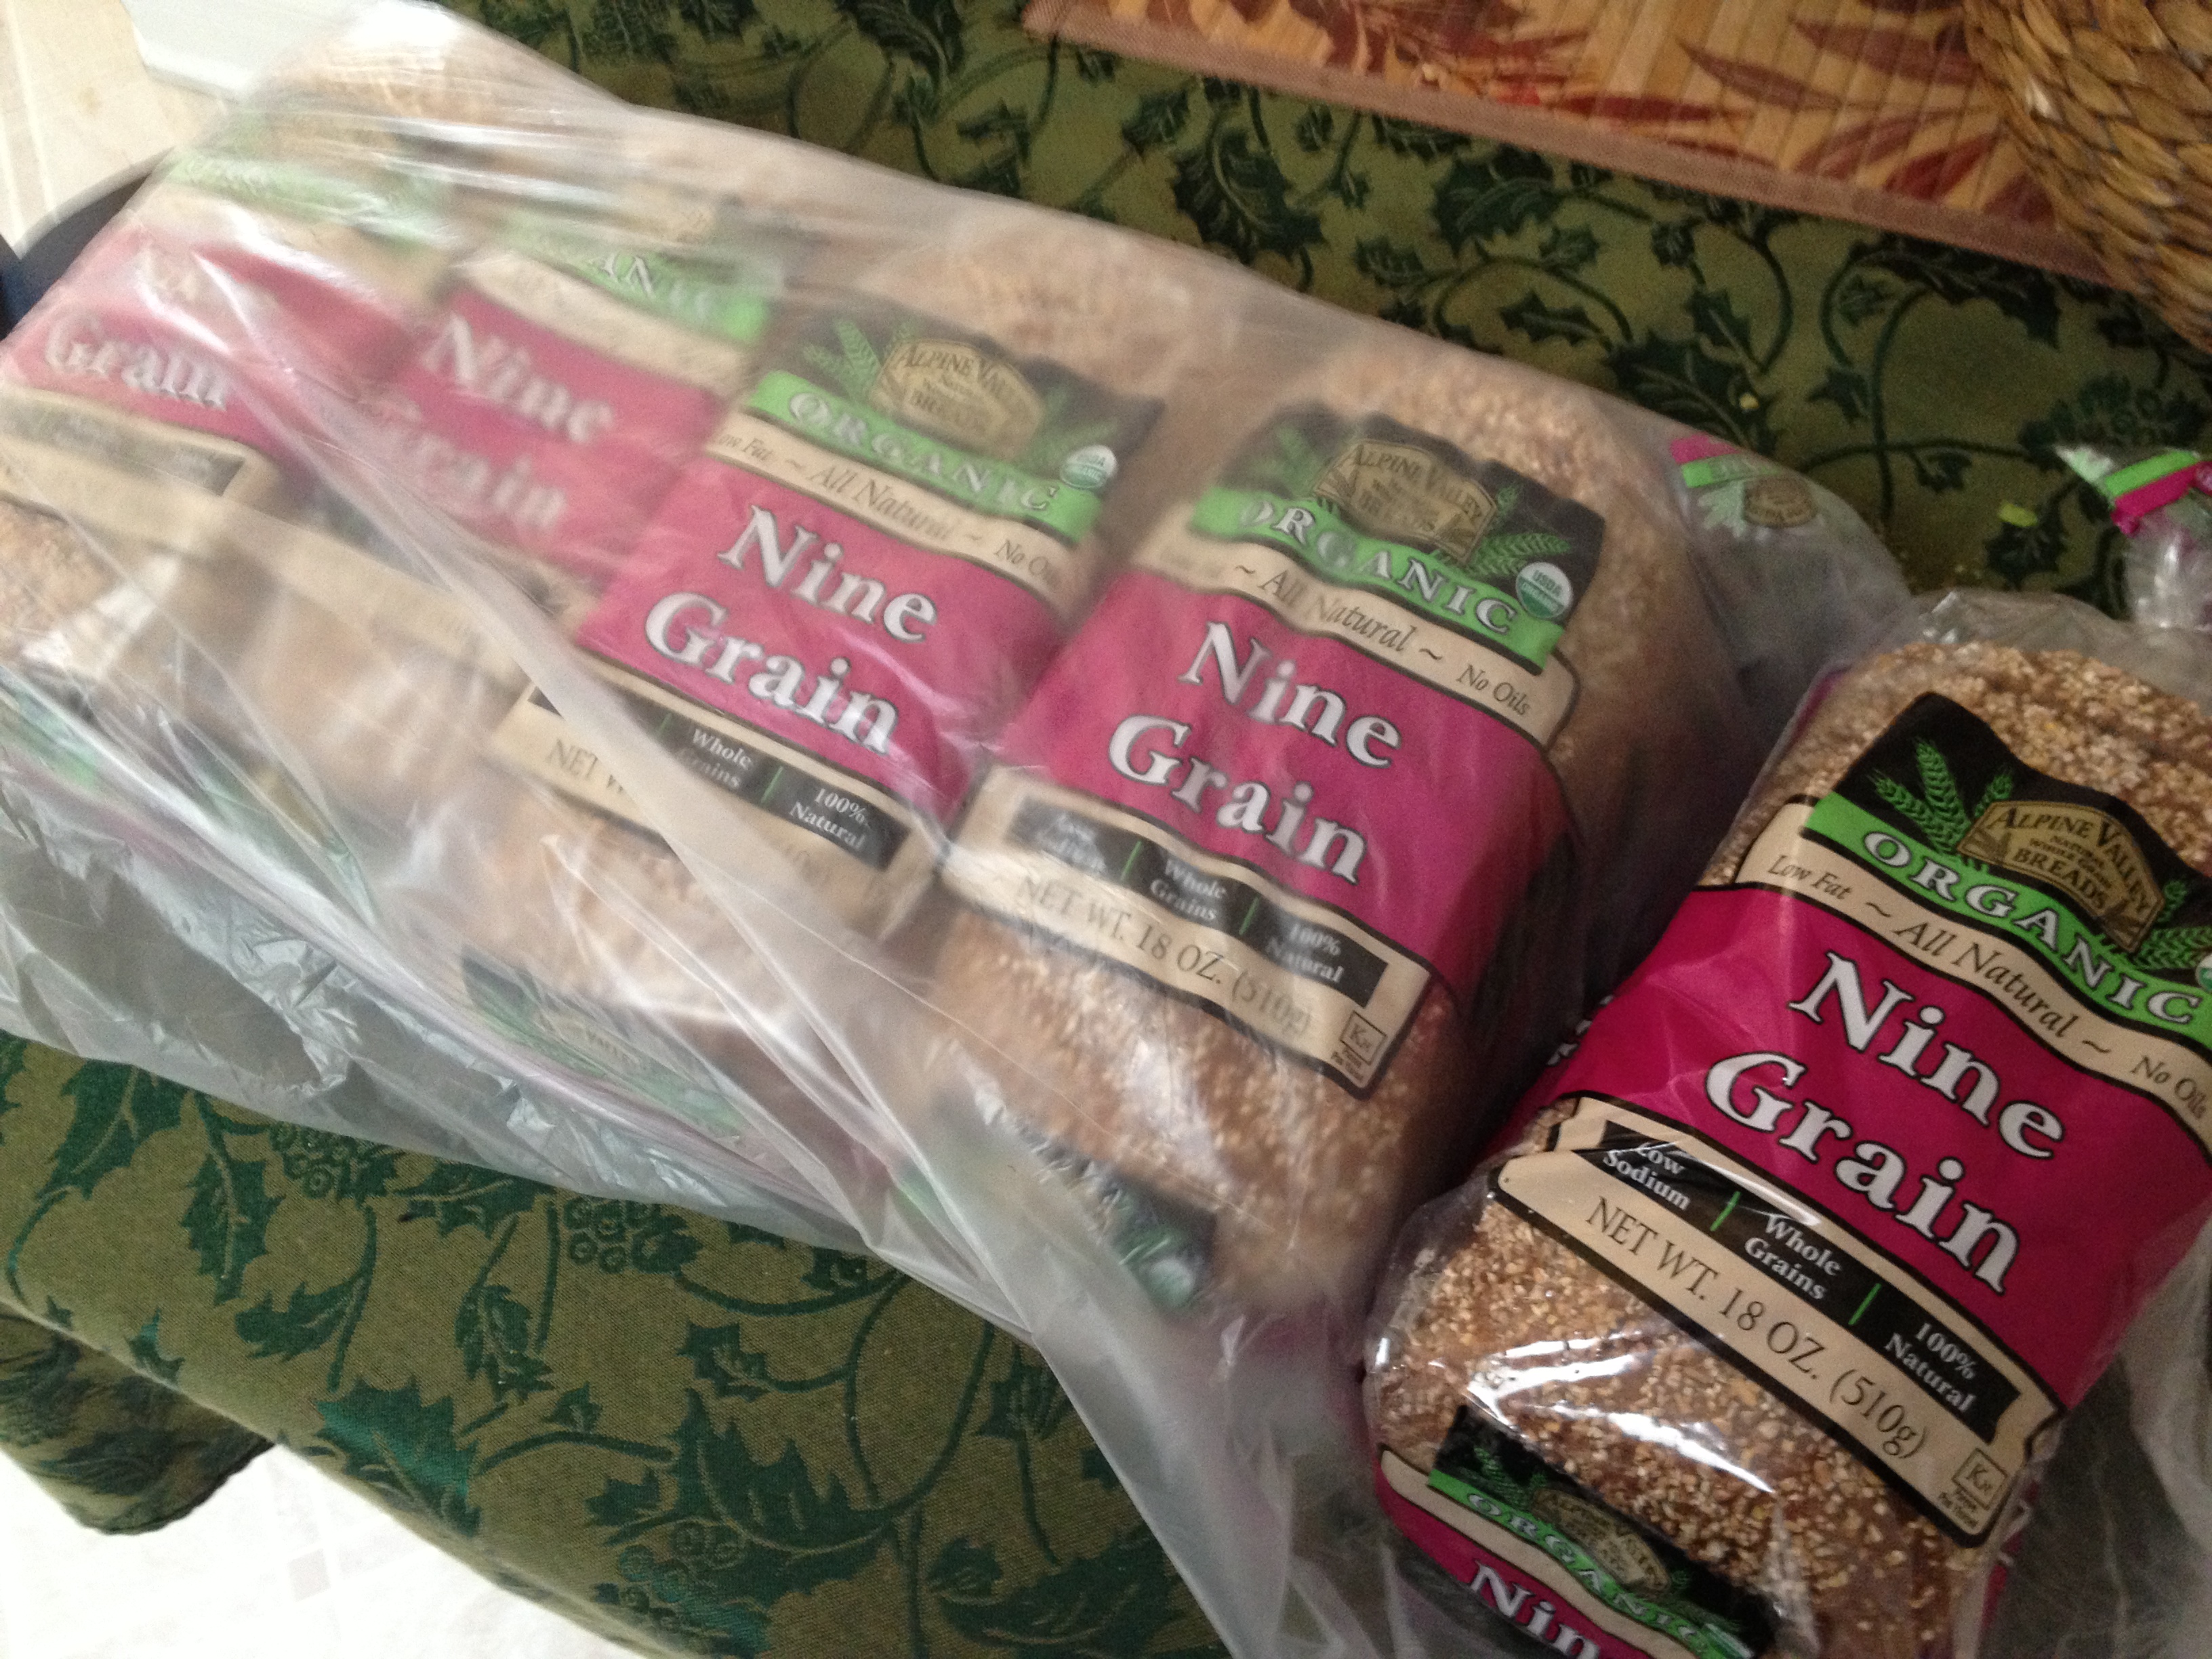
Bountiful Baskets original ORGANIC Sweet 9-Grain Bread comes in bundles of 5 loaves for $12.00!
I purchased a bundle of this amazing bread when I first started with Bountiful Baskets in early November. I froze four of the loaves, and gradually finished them off this past week! Can you imagine paying less than $2.50 for a loaf of Organic 9-Grain bread at Whole Foods or Vitamin Cottage?
So I pass this information on to you. Bountiful Baskets is a great way to cut out the middle man and pay less to fill your life with healthy and fresh foods.
Sounds like a great way to start 2013 to me. Enjoy 🙂